Keycloak Auth
Keycloak is an open source identity and access management solution. You can also use Keycloak to
connect to existing user directories such as LDAP and Active Directory.
Run Keycloak
With docker (dev mode):
shell
docker run --name keycloak --rm -p 8080:8080 -e KEYCLOAK_ADMIN=admin -e KEYCLOAK_ADMIN_PASSWORD=admin quay.io/keycloak/keycloak:19.0.2 start-dev
Login to Keycloak admin
- Open http://localhost:8080
- Click Administration Console -> admin/admin
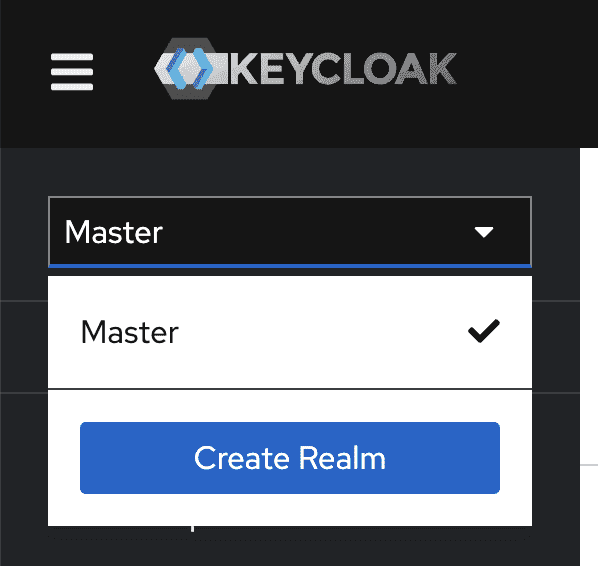
Create a new realm
Create a new realm with name "Uptrace":
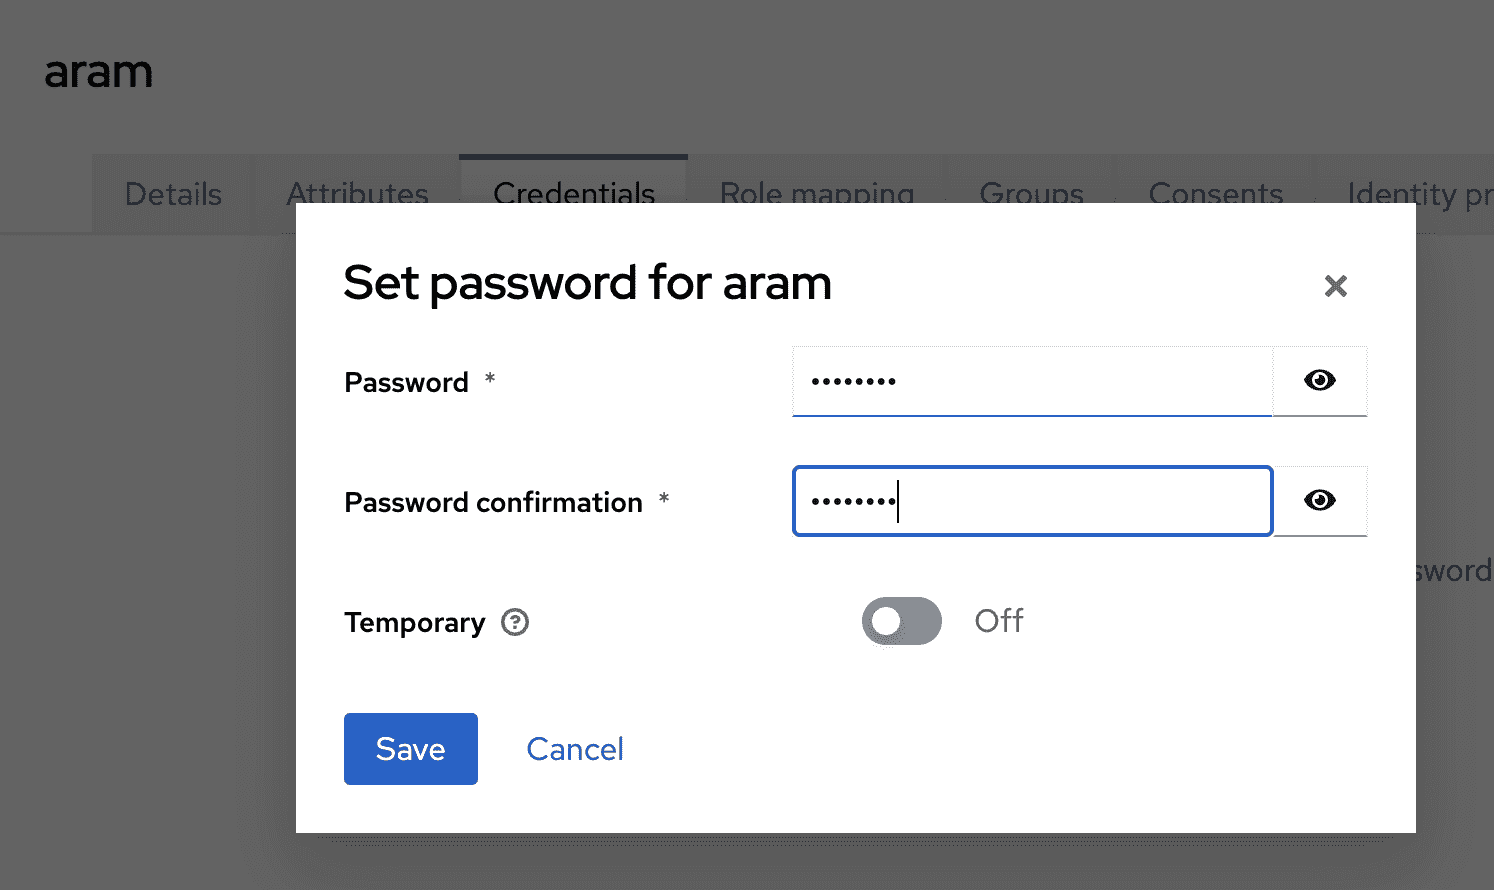
Create a sample user
- Make sure to configure an email address
- Under Credentials, set a password (temporary: OFF)

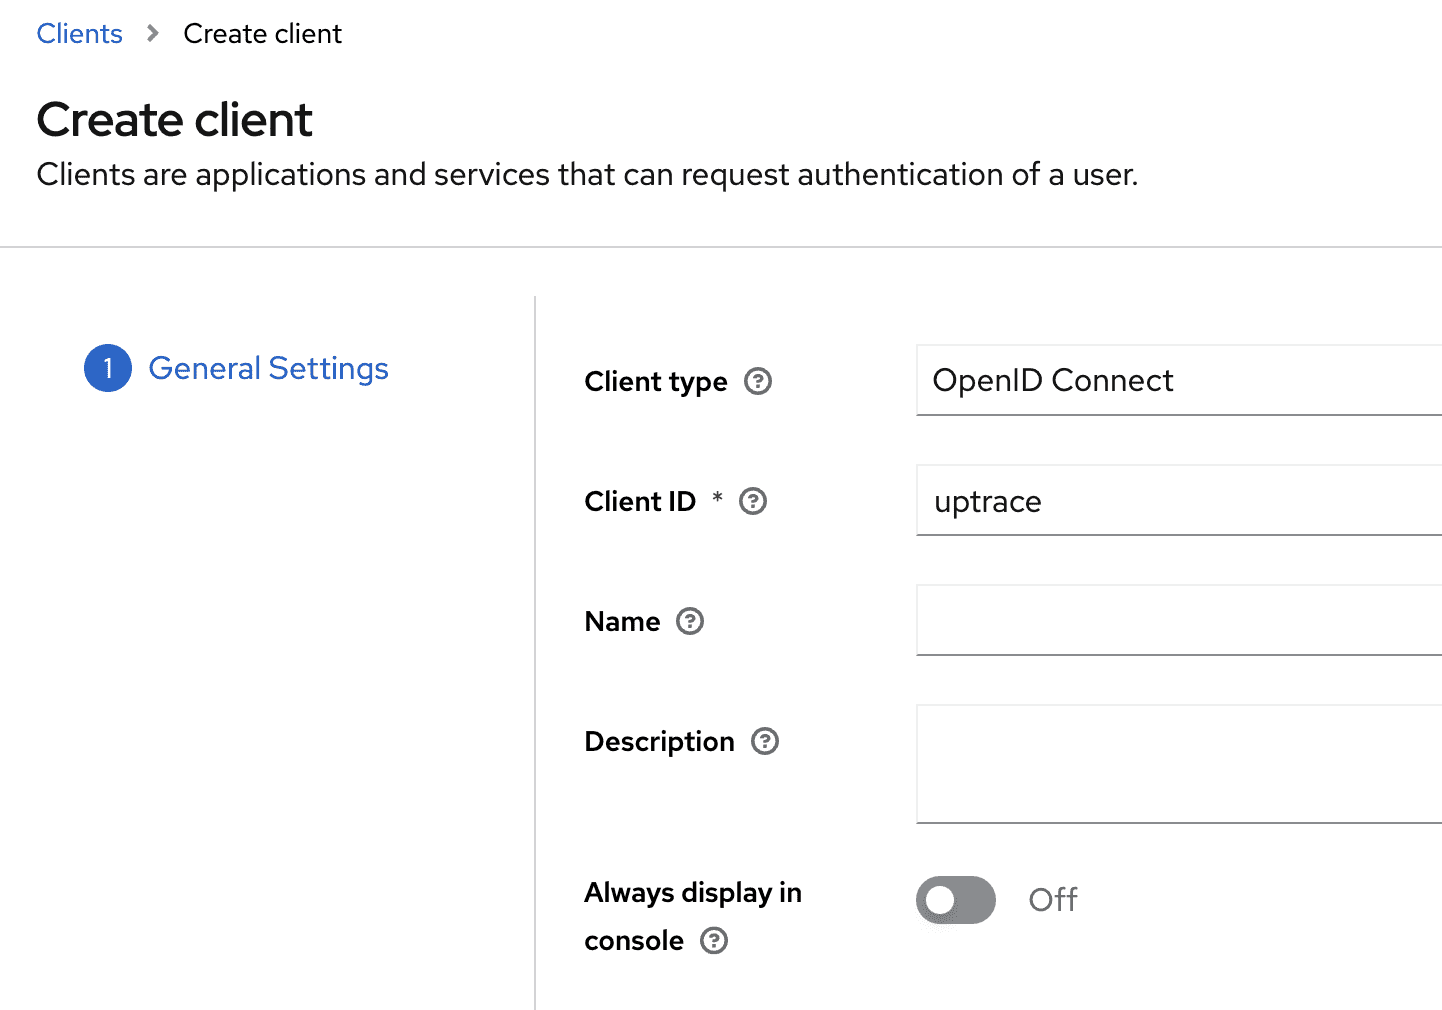
Create a Client for Uptrace
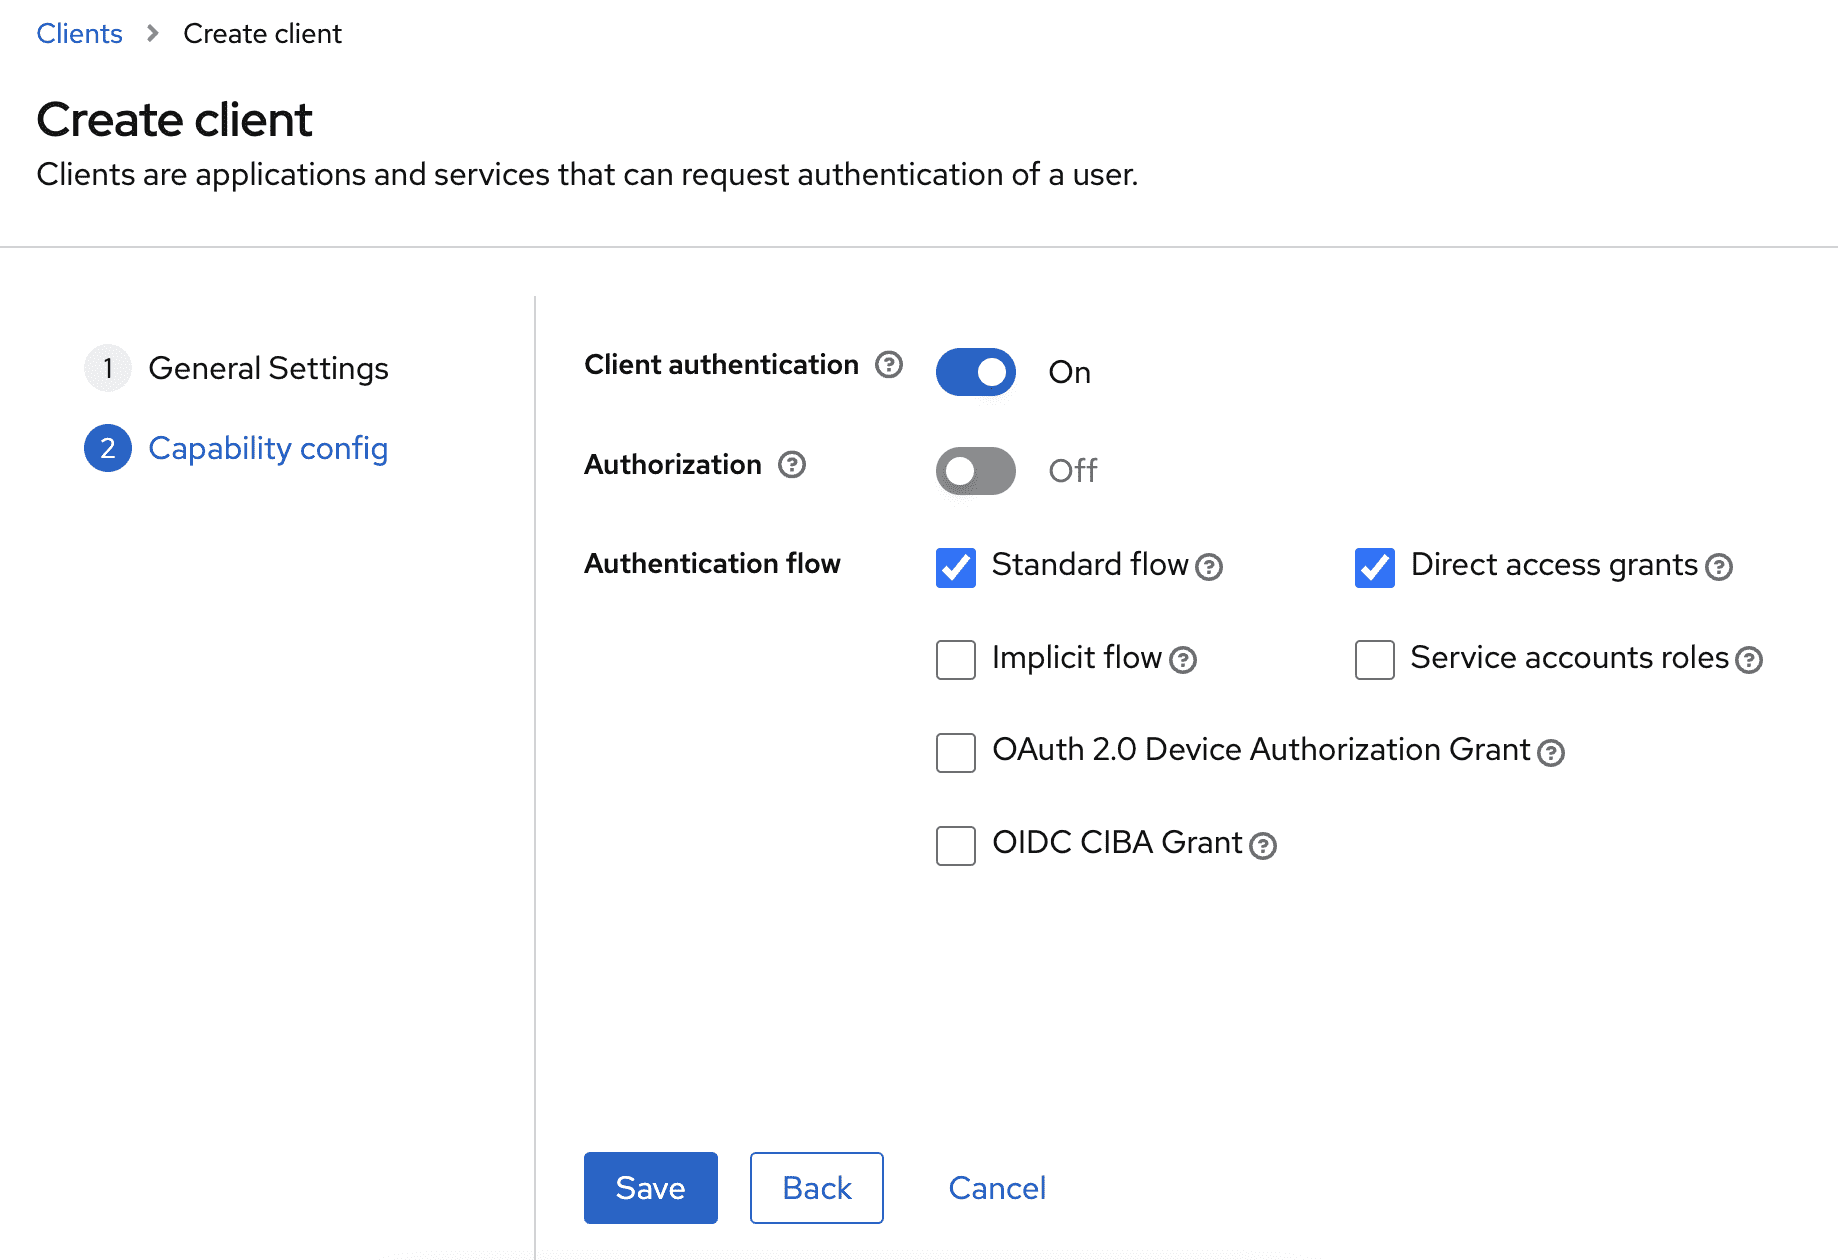
- You define
Client ID;Client Secretwill be generated later - Make sure to turn on Client authentication
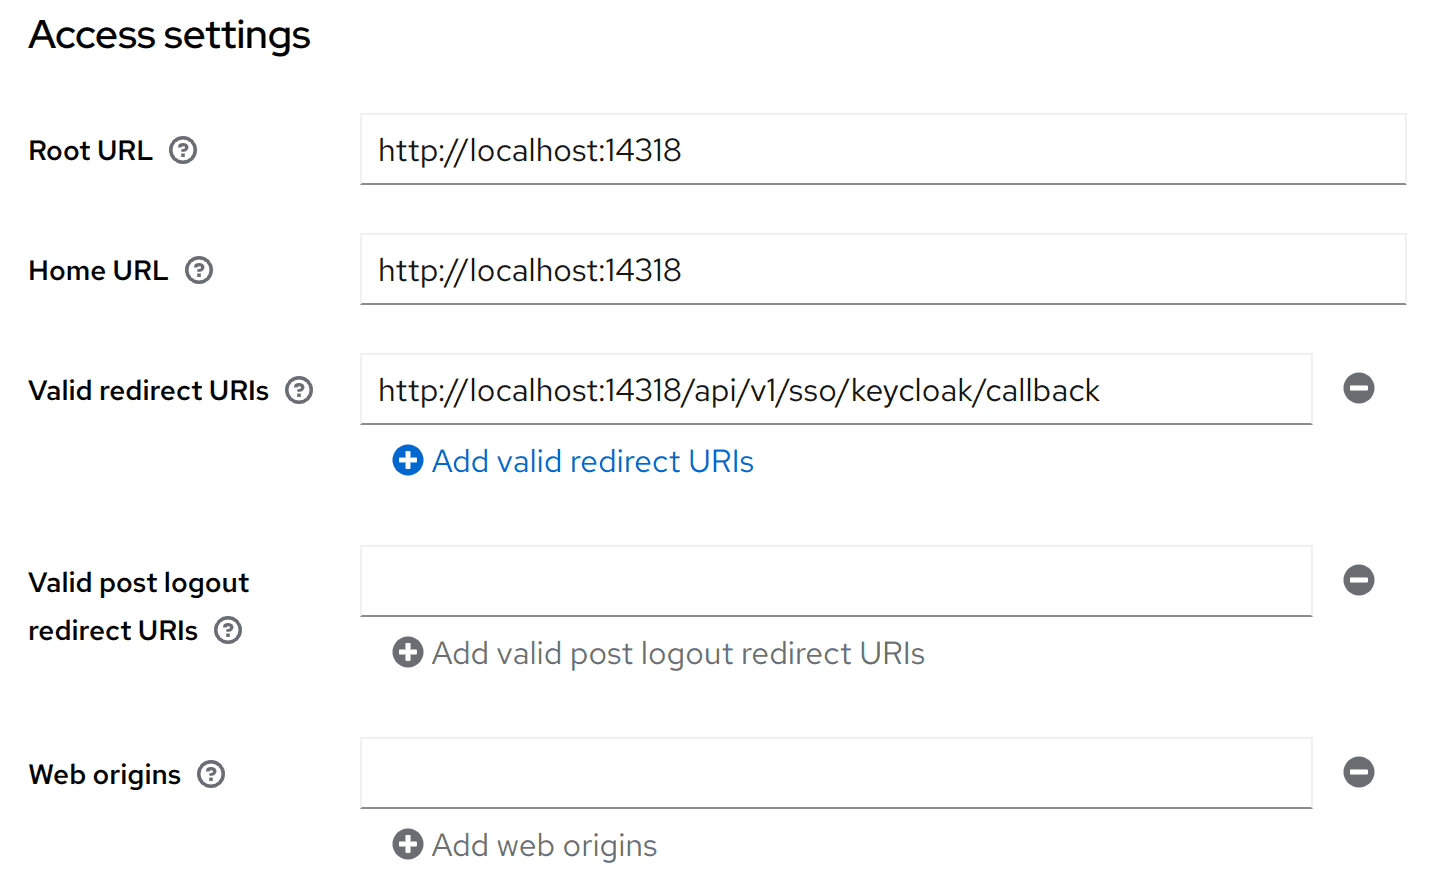
Configure redirect URL
Main thing to set is Valid redirect URIs to http://<uptrace-host>/api/v1/sso/keycloak/callback.
Other fields are optional.
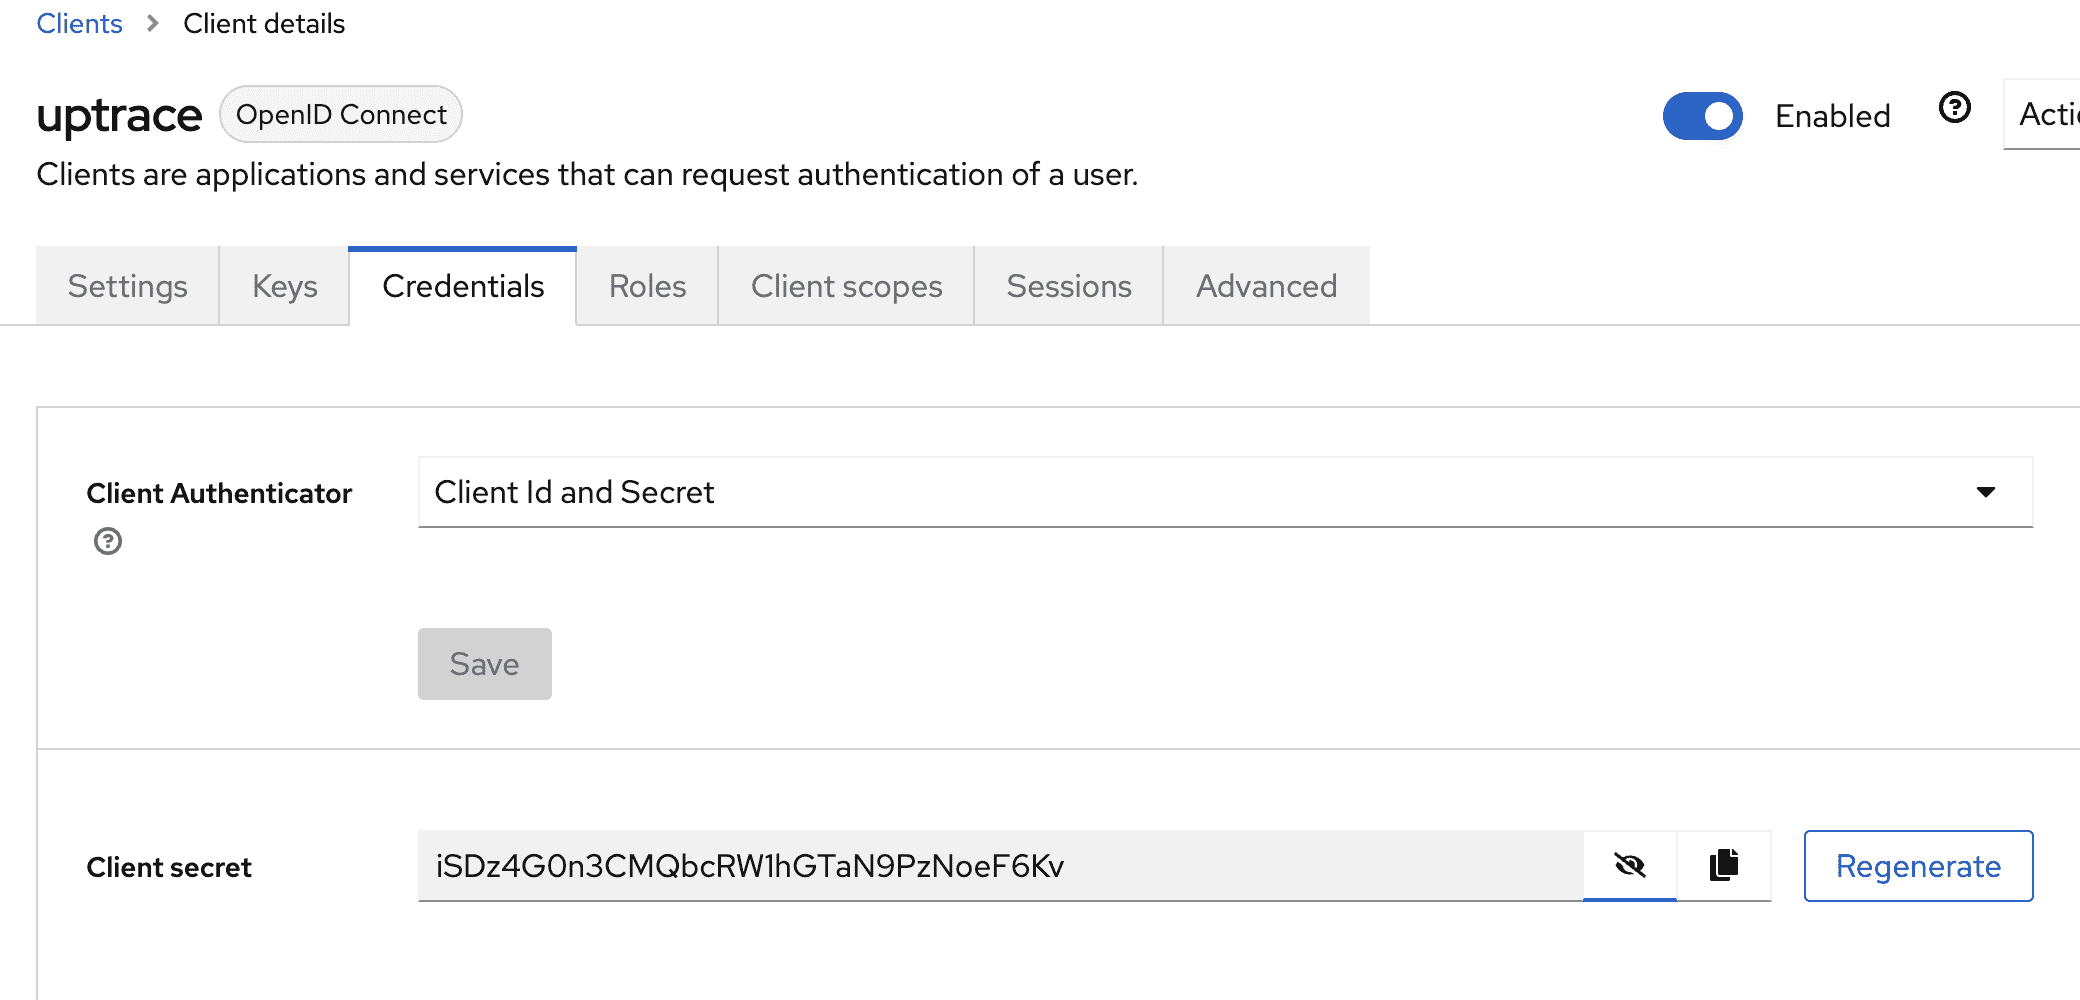
Get client credentials
Configure Uptrace
The issuer_url is based on the Realm ID: http://<keycloak-host>/realms/<realmID>. email and
profile are standard OIDC scopes.
yaml
auth:
  oidc:
    # The ID is used in API endpoints, for example, in redirect URL
    # `http://<uptrace-host>/api/v1/sso/<oidc-id>/callback`.
    - id: keycloak
      # Display name for the button in the login form.
      # Default to 'OpenID Connect'
      display_name: Keycloak
      # The base URL for the OIDC provider.
      issuer_url: http://localhost:8080/realms/uptrace
      # The OAuth 2.0 Client ID
      client_id: uptrace
      # The OAuth 2.0 Client Secret
      client_secret: ogbhd8Q0X0e5AZFGSG3m9oirPvnetqkA
      # Additional OAuth 2.0 scopes to request from the OIDC provider.
      # Defaults to 'profile'. 'openid' is requested by default and need not be specified.
      scopes:
        - profile
      # The OIDC UserInfo claim to use as the user's username.
      # Defaults to 'preferred_username'.
      claim: preferred_username
If you are using a domain other than localhost, you also need to update site.addr:
yaml
site:
  # Overrides public URL for Vue-powered UI in case you put Uptrace behind a proxy.
  addr: 'https://uptrace.mydomain.com'